Master professional makeup and hairstyling techniques to look absolutely stunning on your wedding day
Your wedding day is one of the most important moments of your life, and looking your absolute best should be a priority. Whether you’re choosing to do your own makeup and hair to add a personal touch, stay within budget, or simply want more control over your bridal look, mastering DIY bridal beauty is entirely achievable with the right knowledge and preparation.
The 2026 bridal beauty landscape emphasizes natural radiance, effortless elegance, and authentic beauty rather than heavy makeup looks. Modern brides are embracing clean girl aesthetics combined with professional techniques to create looks that are both timeless and stunning in photographs. This comprehensive guide will walk you through every step of the DIY bridal beauty process, from skincare preparation months in advance to final touch-ups on your wedding day.
The Foundation: Strategic Skincare Preparation
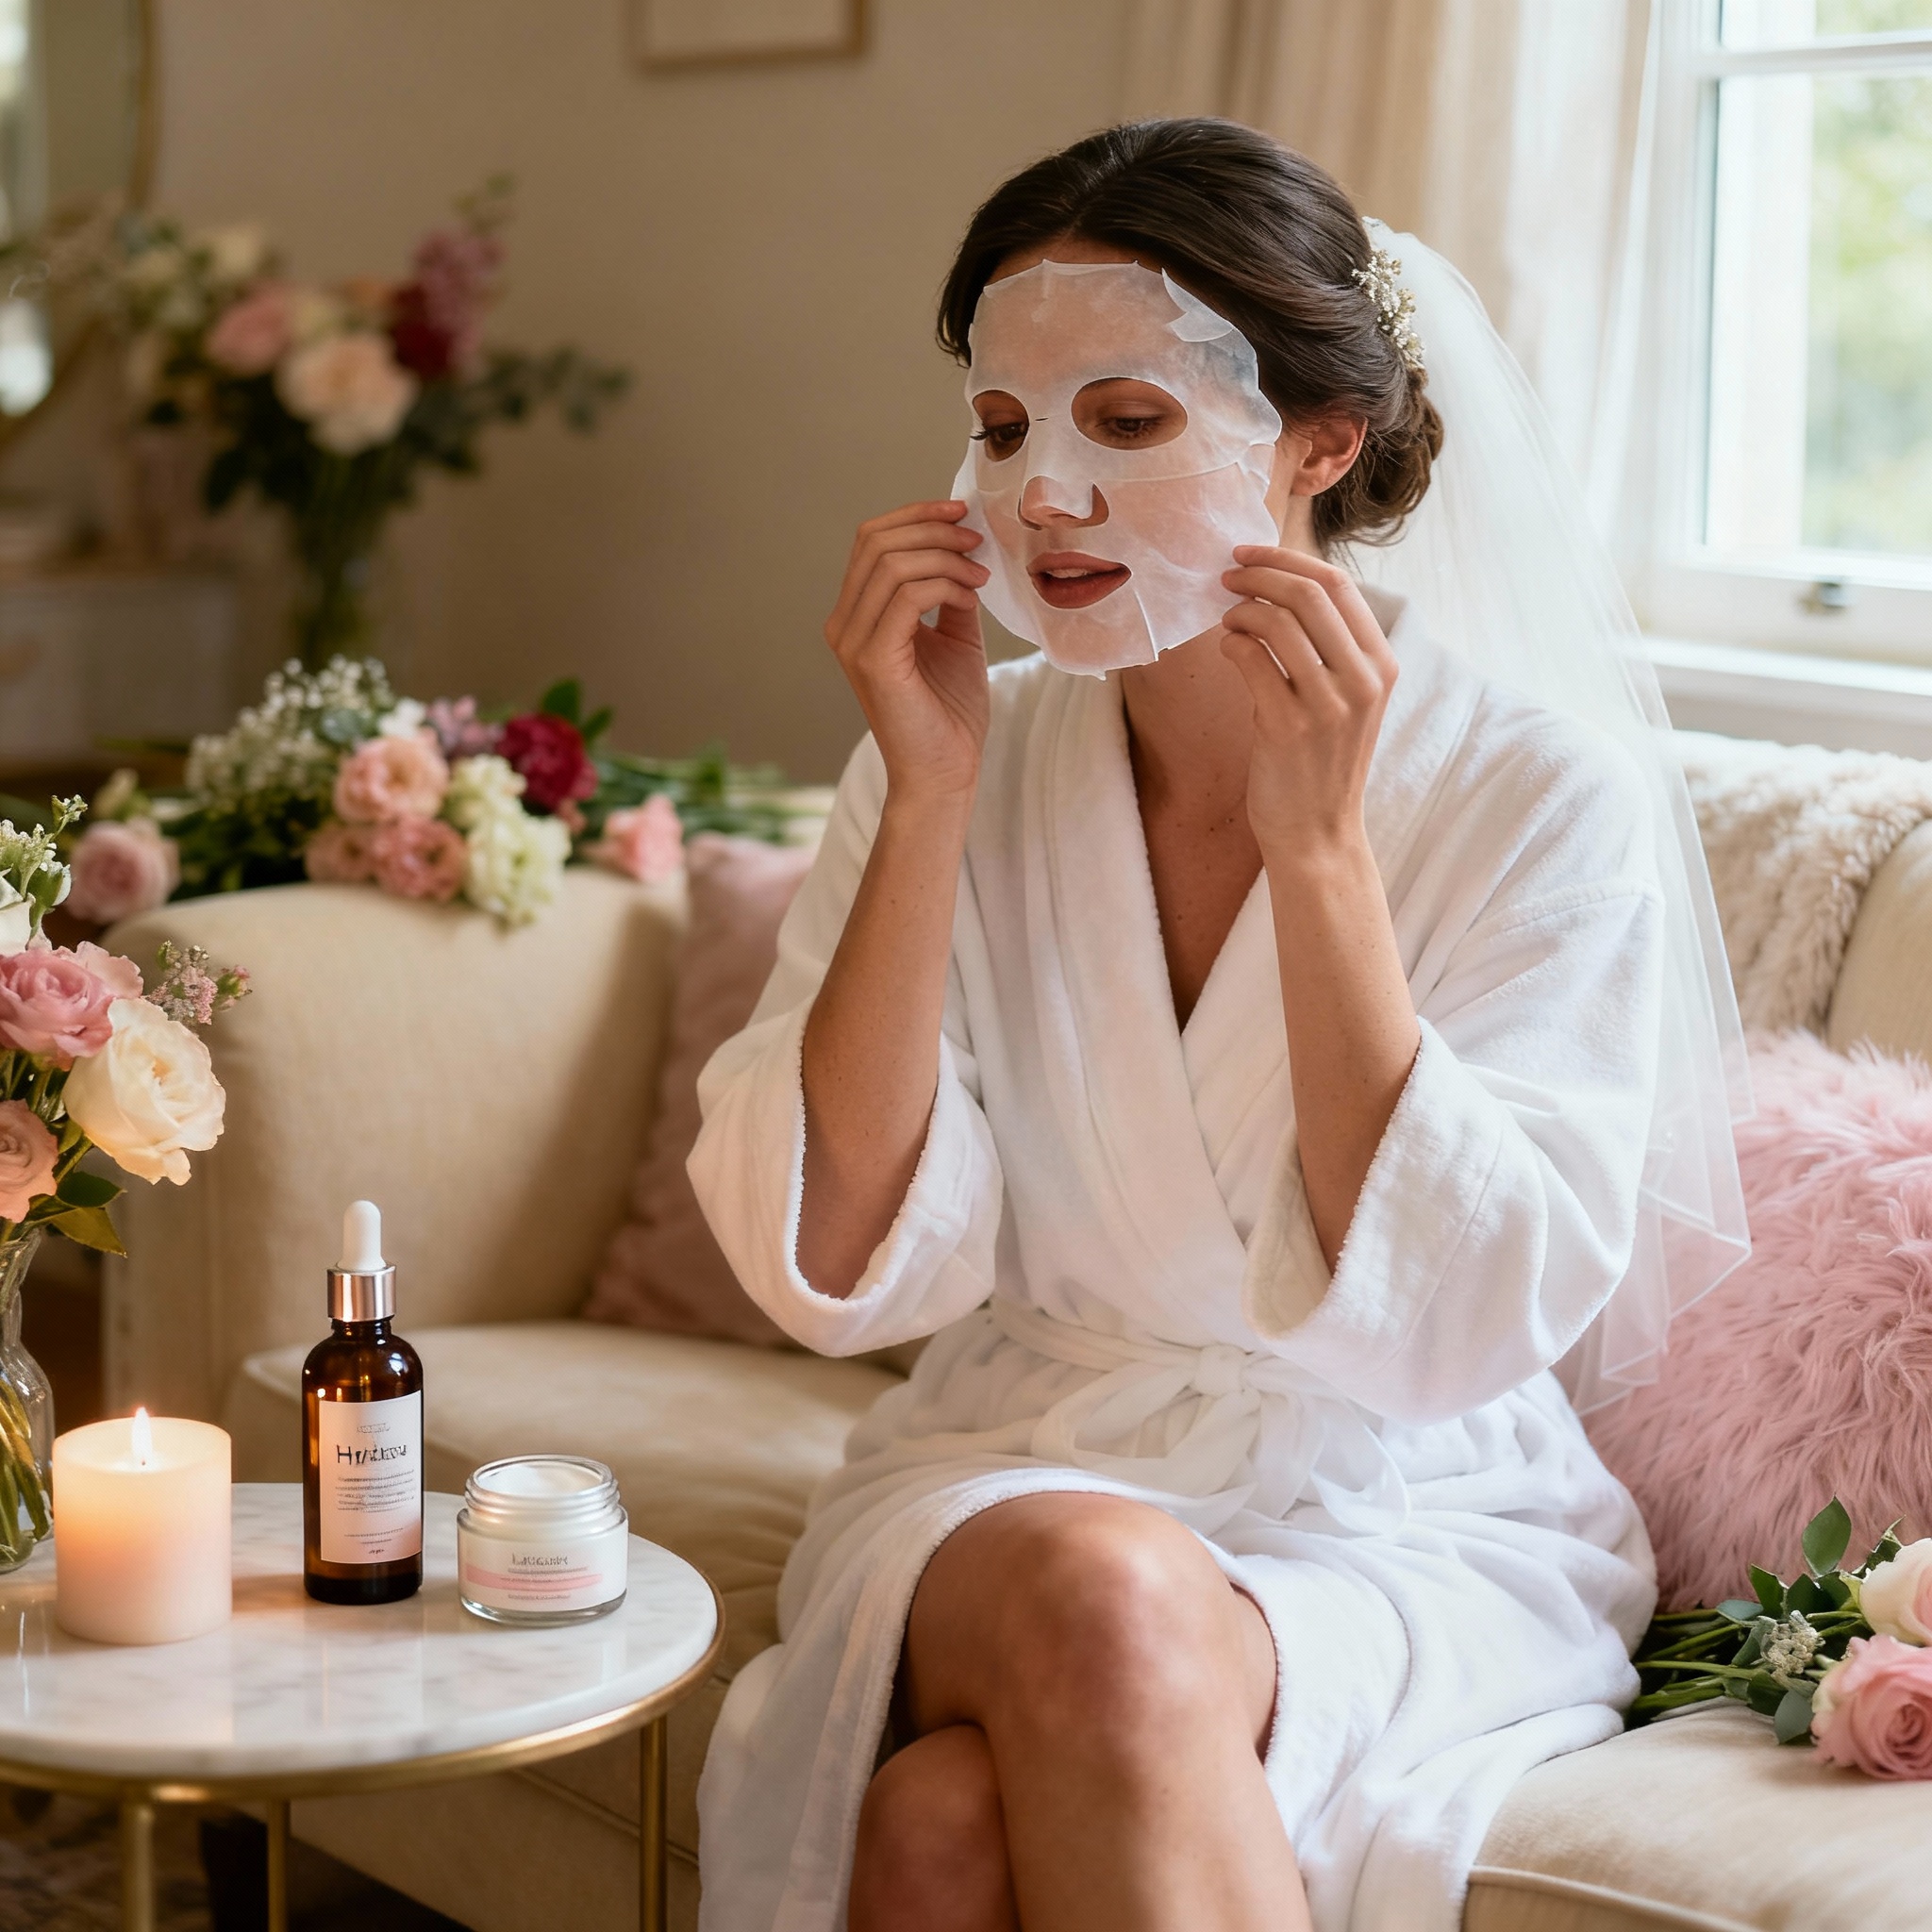
Comprehensive skin preparation routine for brides at home
Beautiful bridal makeup starts with flawless skin. Unlike hair or makeup, which can be touched up throughout the day, your skin is the canvas that lasts from morning until night. Professional dermatologists recommend beginning your skincare regimen six to twelve months before your wedding day to address specific concerns and achieve that radiant, camera-ready complexion.
Six to Twelve Months Before Your Wedding
Consult with a Board-Certified Dermatologist: Schedule a consultation to discuss your skin type, concerns, and aesthetic goals. A dermatologist can recommend treatments including chemical peels, laser therapy, microneedling, or HydraFacial treatments to address issues like hyperpigmentation, acne scars, uneven texture, or dullness.
Professional Treatments to Consider:
- Chemical Peels: Improve skin texture, reduce fine lines, and even out skin tone
- Laser Therapy (Q-Switch): Address pigmentation, tanning, and uneven skin tone with minimal downtime
- Microneedling: Stimulate collagen production and improve skin texture
- LED Light Therapy: Boost collagen production and promote healing
- HydraFacial: Multi-step treatment combining cleansing, exfoliation, extraction, and hydration
- PRP (Platelet-Rich Plasma) Therapy: Rejuvenate dull, tired skin using your own blood platelets
Three to Six Months Before Your Wedding
Begin establishing a consistent daily skincare routine tailored to your skin type. Keep it simple but effective to avoid irritation from trying too many new products.
Essential Daily Skincare Steps:
Step 1 – Gentle Cleanser: Use a sulfate-free cleanser morning and night to remove impurities without stripping natural oils.
Step 2 – Hydrating Serum: Apply antioxidant-rich serums (Vitamin C) or hydrating serums (Hyaluronic Acid) to prep skin for moisture absorption.
Step 3 – Targeted Treatments: If addressing specific concerns like acne or hyperpigmentation, introduce treatments like retinol or azelaic acid—but do this early to monitor skin’s response.
Step 4 – Moisturizer: Choose a hydrating moisturizer suited to your skin type. Dermatologists recommend Charlotte Tilbury’s Magic Cream for dry skin or Bobbi Brown’s Hydrating Moisturizer for balanced hydration.
Step 5 – Eye Cream: Apply a specialized eye cream to prevent flakiness and puffiness. Look for ingredients like peptides and caffeine.
Step 6 – SPF: Always finish with broad-spectrum SPF 30+ to protect skin from UV damage.
One Month Before Your Wedding
Key Focus: Schedule your final professional facial treatments at this point, allowing your skin time to recover before the wedding.
- Continue your daily skincare routine religiously
- Exfoliate once weekly to remove dead skin cells and promote cellular turnover
- Schedule monthly facials if possible for professional-grade cleansing and hydration
- Begin using hydrating masks 2-3 times weekly
- Stay hydrated by drinking adequate water daily
- Get 7-9 hours of sleep nightly for skin regeneration
One Week Before Your Wedding
Important: This is the time to STOP all active treatments—no retinoids, no acids, no aggressive exfoliation. Your focus shifts entirely to hydration and calming treatments.
- Schedule a hydrating facial focusing on oxygen therapy and hydrating serums
- Skip exfoliating products and use only gentle, hydrating cleansers
- Apply hydrating and soothing serums, essences, or toners daily
- Use hydrating sheet masks nightly to plump skin and boost radiance
- Avoid any new skincare products entirely—stick to what you know works
- Reduce caffeine and alcohol intake
- Prioritize sleep and stress management
The Day Before Your Wedding
Keep your skincare routine incredibly simple to avoid last-minute reactions or irritation.
- Gentle cleanse with your trusted cleanser
- Apply hydrating serums and moisturizers
- Use a firming treatment to enhance skin’s natural radiance
- Apply a hydrating face mask if desired
- Get plenty of rest—your skin repairs itself during sleep
Mastering DIY Bridal Makeup: Step-by-Step Professional Techniques
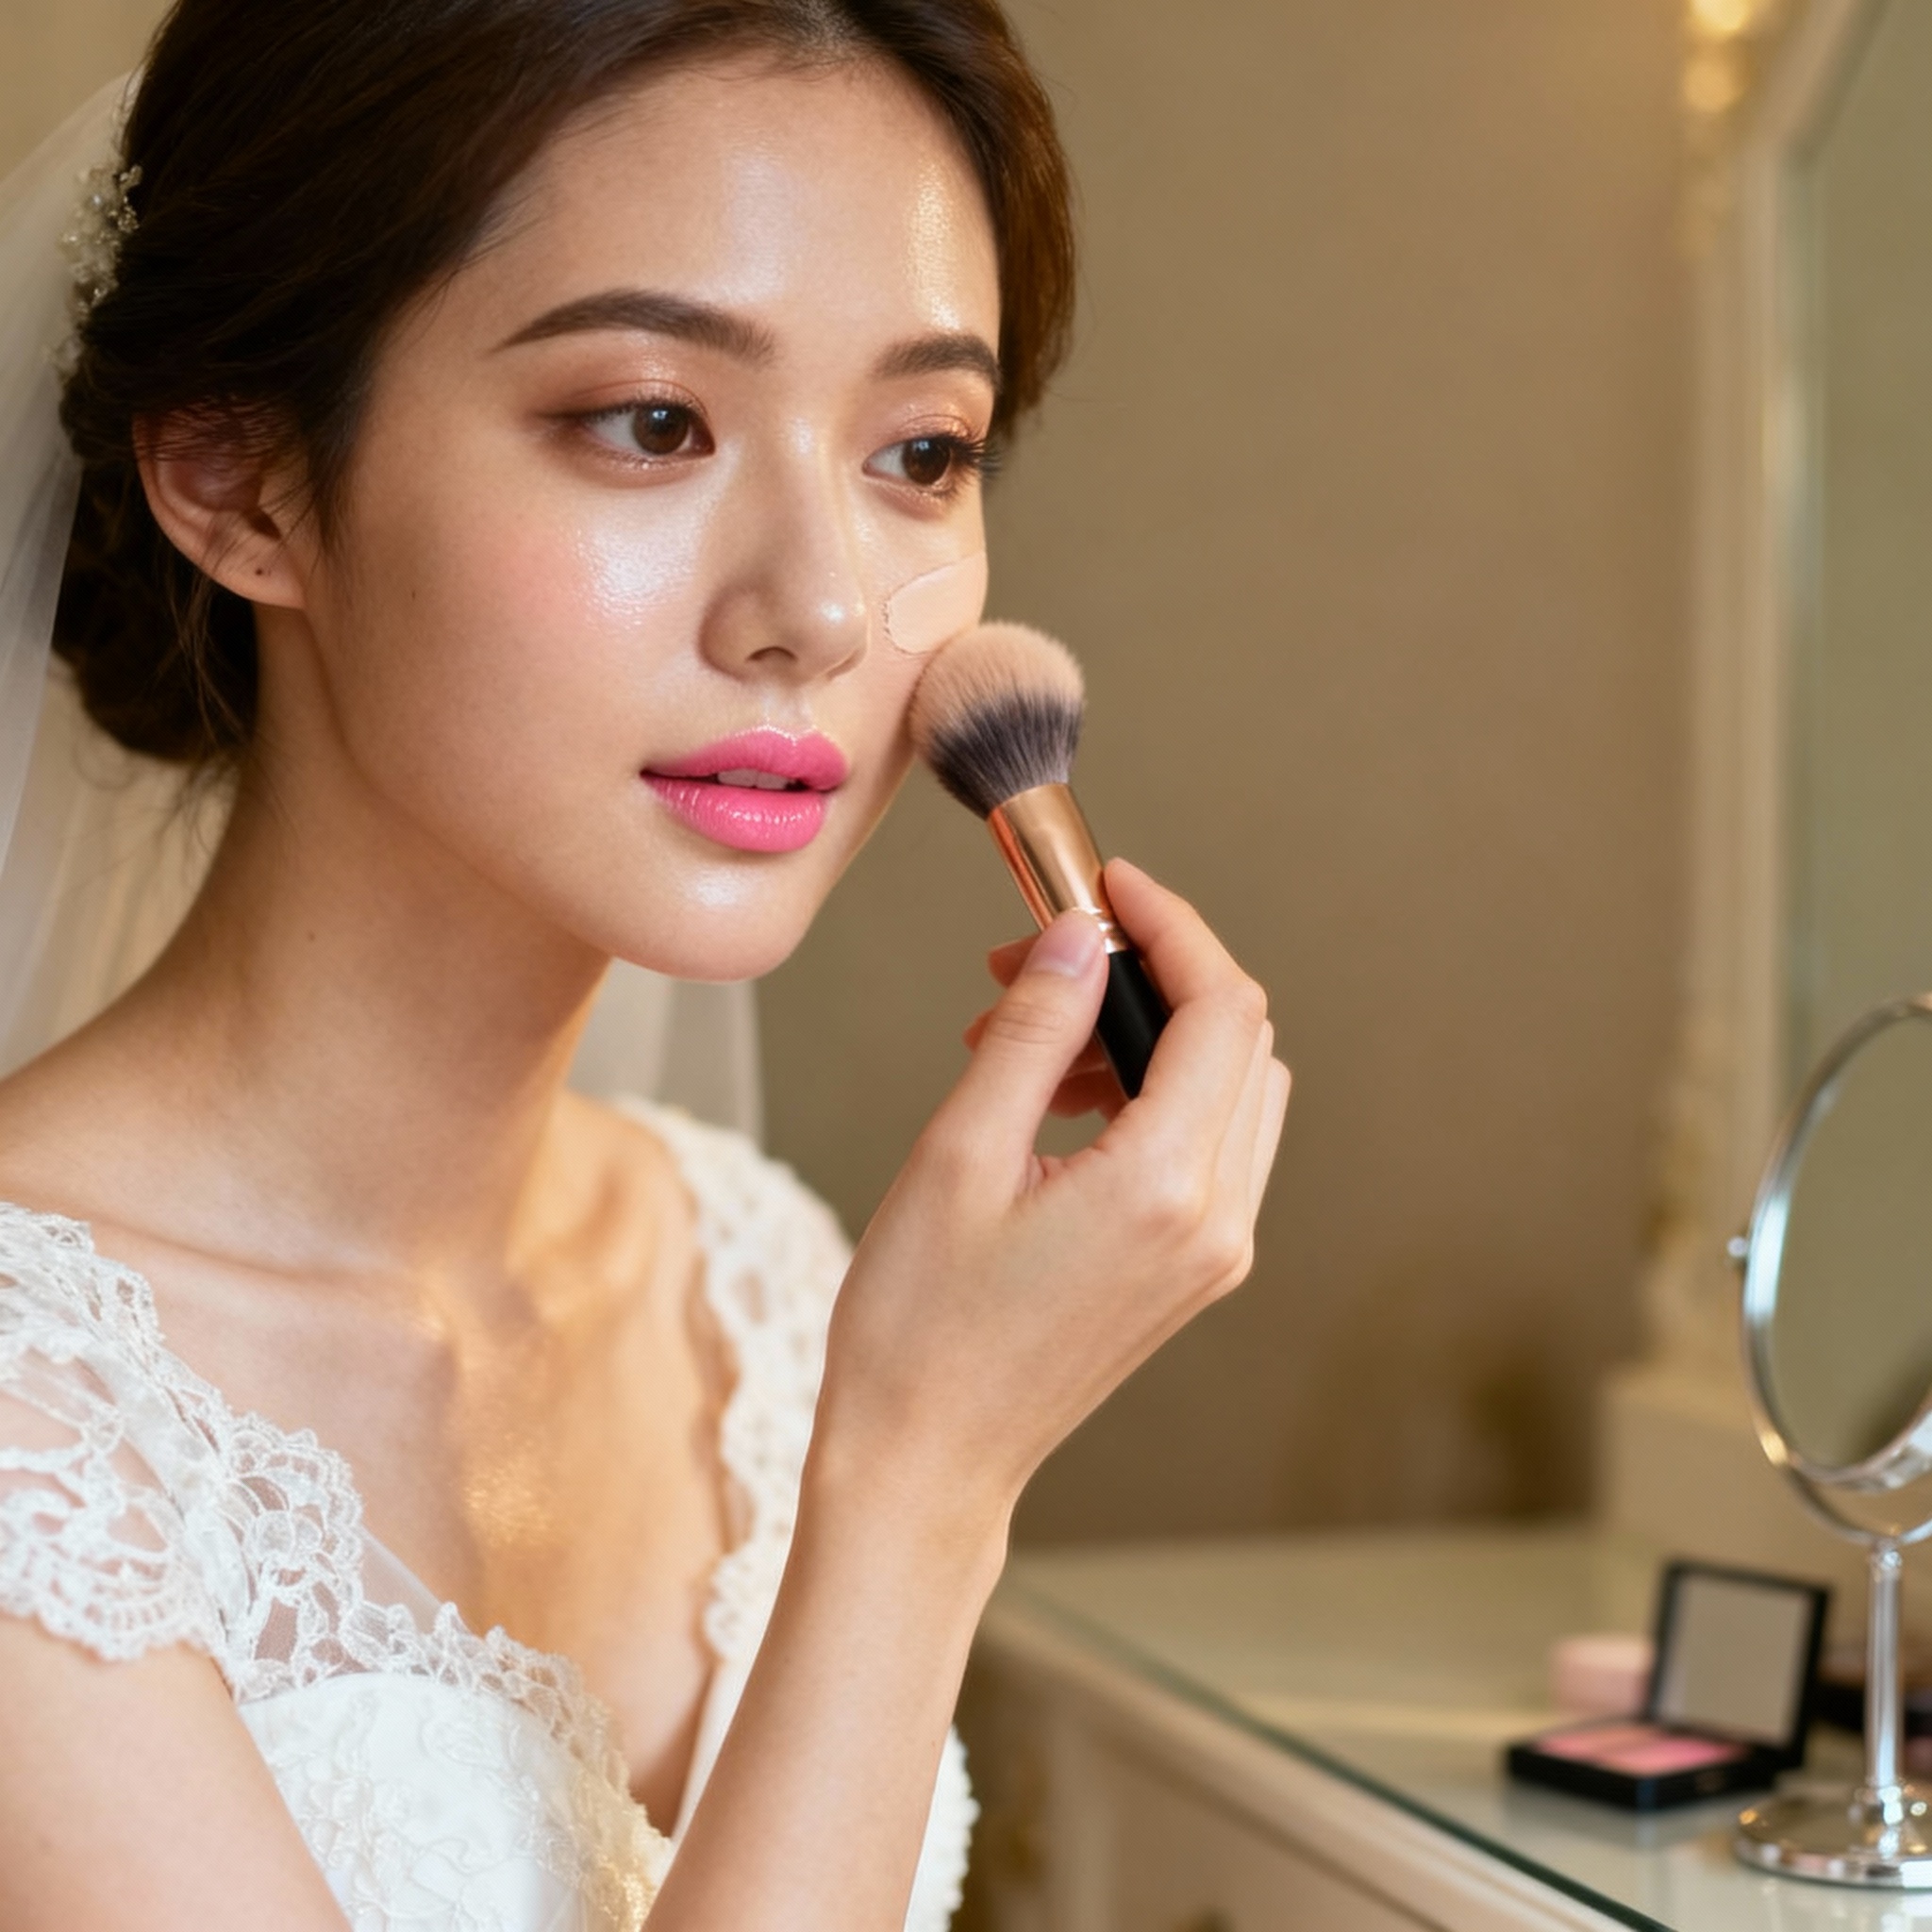
Professional bridal makeup application with natural glow techniques
Creating professional bridal makeup at home requires the right products, techniques, and practice. The trend for 2026 emphasizes “clean girl” makeup with natural-looking skin, blushed cheeks, and subtle eye definition—focusing on enhancing your natural beauty rather than masking it.
Pro Tip: Practice your bridal makeup look at least 3-4 times before your wedding day. This helps you perfect the technique, understand timing, and identify any products that don’t work for you.
Complete 12-Step DIY Bridal Makeup Application
1Skincare & Hydration (5 minutes):
Begin with a well-cleansed, moisturized face. Apply your regular moisturizer and eye cream, allowing them to set for a minute before proceeding. This creates a hydrated base that helps makeup glide smoothly and last longer.
2Primer Application (3 minutes):
Use a combination approach: Apply a hydrating primer all over the face using your fingertips (this ensures a smooth, non-streaky application). Then apply a radiance-boosting primer to the high points of your face—cheekbones, eyebrow bones, and nose. This technique creates a luminous finish that photographs beautifully.
Recommended Products:
- Charlotte Tilbury Wander Glow Primer
- NARS Radiance Primer (contains SPF)
- Hourglass Vanish Airbrush Primer
3Foundation (8 minutes):
The foundation is crucial for a flawless bridal look. Choose a formula that balances coverage with a natural appearance. Apply gradually in thin layers, building coverage only where needed rather than applying full coverage everywhere.
Foundation Selection Guide:
For Natural, Glowing Finish: Armani Luminous Silk Foundation (subtle matte finish that looks incredible on camera)
For Full Coverage with Radiance: Huda Beauty Glow Wish Foundation
For Budget-Friendly Option: Maybelline Fit Me Liquid Foundation
Application Technique: Use a damp beauty sponge or dense makeup brush. Apply foundation in thin layers, starting with the T-zone and gradually building to other areas. Press rather than swipe to avoid a cakey appearance.
4Concealer & Eye Base (5 minutes):
Apply concealer to areas needing coverage: under eyes, corners of eyes, around nostrils, and any blemishes. Use a creamy formula that won’t accentuate dry patches.
Eyelid Prep: Apply a small amount of concealer to eyelids as a smooth base for eyeshadow, ensuring color stays vibrant throughout the day.
Recommended Concealers: NARS Creamy Radiance Concealer, Armani Power Fabric Concealer
5Contouring (5 minutes):
Subtle contouring defines the face without looking obvious. Using a liquid formula and large blending brush, apply contour to cheek hollows, temples, and jawline using small circular motions.
Finding Cheek Hollows: Suck in your cheeks and feel where your cheekbone ends—this is where contour should go.
Recommended Product: Charlotte Tilbury Liquid Contour
6Setting Powder (3 minutes):
Lock in foundation and concealer with a finely-milled, translucent setting powder. Focus on the T-zone and under-eyes to prevent shine from camera flash. Use a light hand—a little goes a long way.
Professional Favorite: Charlotte Tilbury Airbrush Flawless Finish (eliminates shine and prevents flashback in photos)
7Eyeshadow Application (10 minutes):
Create dimension by warming up the eyes with bronzer first, then layering eyeshadow shades from light to dark.
Step-by-Step Eyeshadow Application:
- Warm-Up: Using a small blending brush, apply bronzer to the crease with small circular motions
- Crease Shadow: Apply a medium-brown shade along the entire crease
- Outer Corner: Apply the darkest shade to outer corners, blending inward
- Inner Corner: Apply the lightest cream shade to inner corners for a lifted effect
- Blend: Use a clean blending brush to seamlessly blend all shadows
Recommended Palette: Tom Ford Eye Color Quad in “Nude Dip” (complements every skin tone with the perfect mix of nude and warm colors)
8Eye Liner (3 minutes):
Use a brown pencil liner for a softer, more forgiving application than liquid liner. Apply from outer corner of lash line to about three-quarters of the way inward. Blend with a smudging brush to create a subtle cat-eye effect.
Recommended Products: Sweed Beauty Brown Pencil, Charlotte Tilbury “The Classic Shimmering Brown”
9Mascara (2 minutes):
Apply 2-3 coats of mascara, wiggling from the root of lashes to the tip. A good mascara can negate the need for false lashes.
Professional Recommendation: Sweed Beauty Mascara (features innovative comb-like brush head that coats each lash individually)
10Blush (3 minutes):
Blush is essential for that youthful, healthy glow that photographs beautifully. Apply to the apples of cheeks and blend upward toward hairline.
Shade Selection:
For Fair Skin Tones: Laura Mercier Blush in “Strawberry”
For Deeper Skin Tones: Laura Mercier Blush in “Sangria”
11Bronzer (2 minutes):
Apply bronzer to areas where the sun naturally hits your face—cheekbones, forehead, and chin. This adds warmth and dimension.
Recommended Products: Tom Ford Beauty “Terra 02”, La Bouche Rouge Bronzer
12Highlighter & Lip (5 minutes):
Apply highlighter to the high points of your face—cheekbones, brow bones, cupid’s bow, and inner eye corners. Blend with your fingers for a seamless, dewy finish.
Highlighter: Hourglass Highlighter Stick in “Champagne”
Lipstick: Charlotte Tilbury Pillow Talk (flatters every complexion and is the perfect bridal shade)
Final Step: Apply your lip color and have your maid of honor keep it with you for touch-ups throughout the day.
DIY Bridal Hairstyling: From Preparation to Perfect Curls
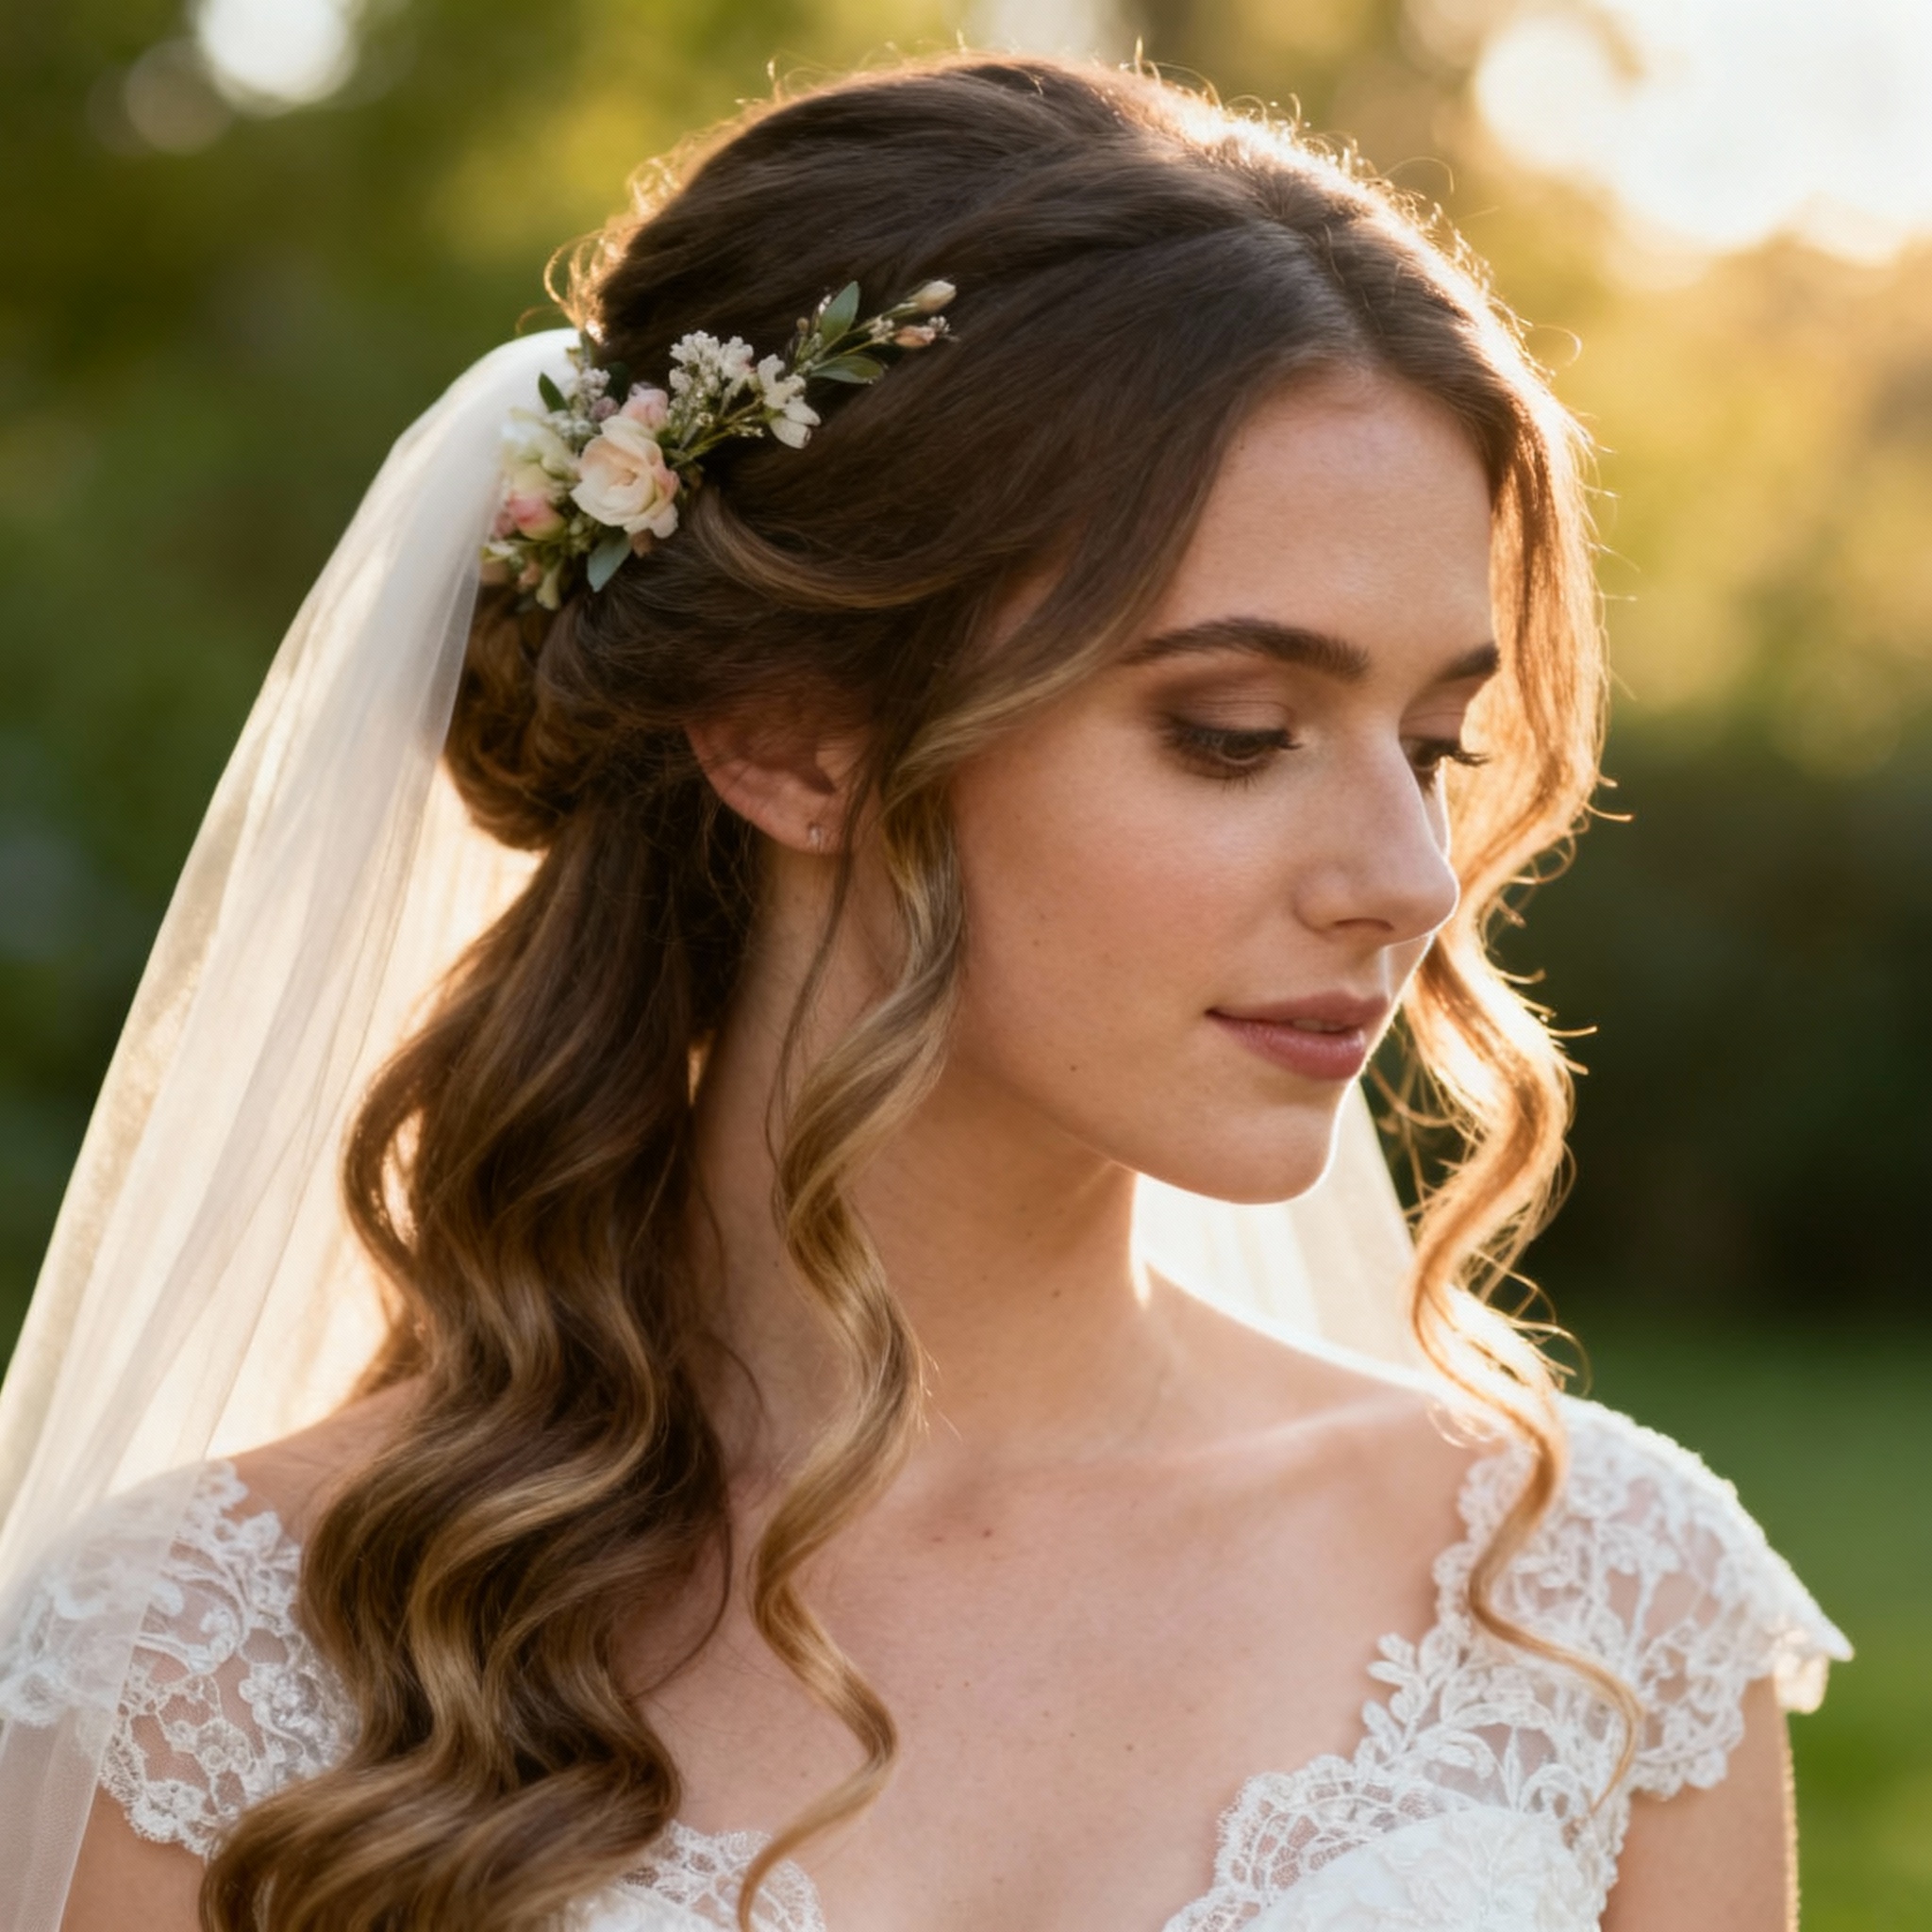
Romantic DIY wedding hairstyle with soft curls and natural waves
The 2026 bridal hair trends emphasize soft romantic textures and effortless elegance. Think flowing waves, polished updos with face-framing tendrils, and the ever-popular half-up, half-down styles. The key to achieving professional-looking bridal hair at home is understanding proper preparation, the right tools, and correct technique.
Essential Hair Styling Tools for DIY Bridal Hair
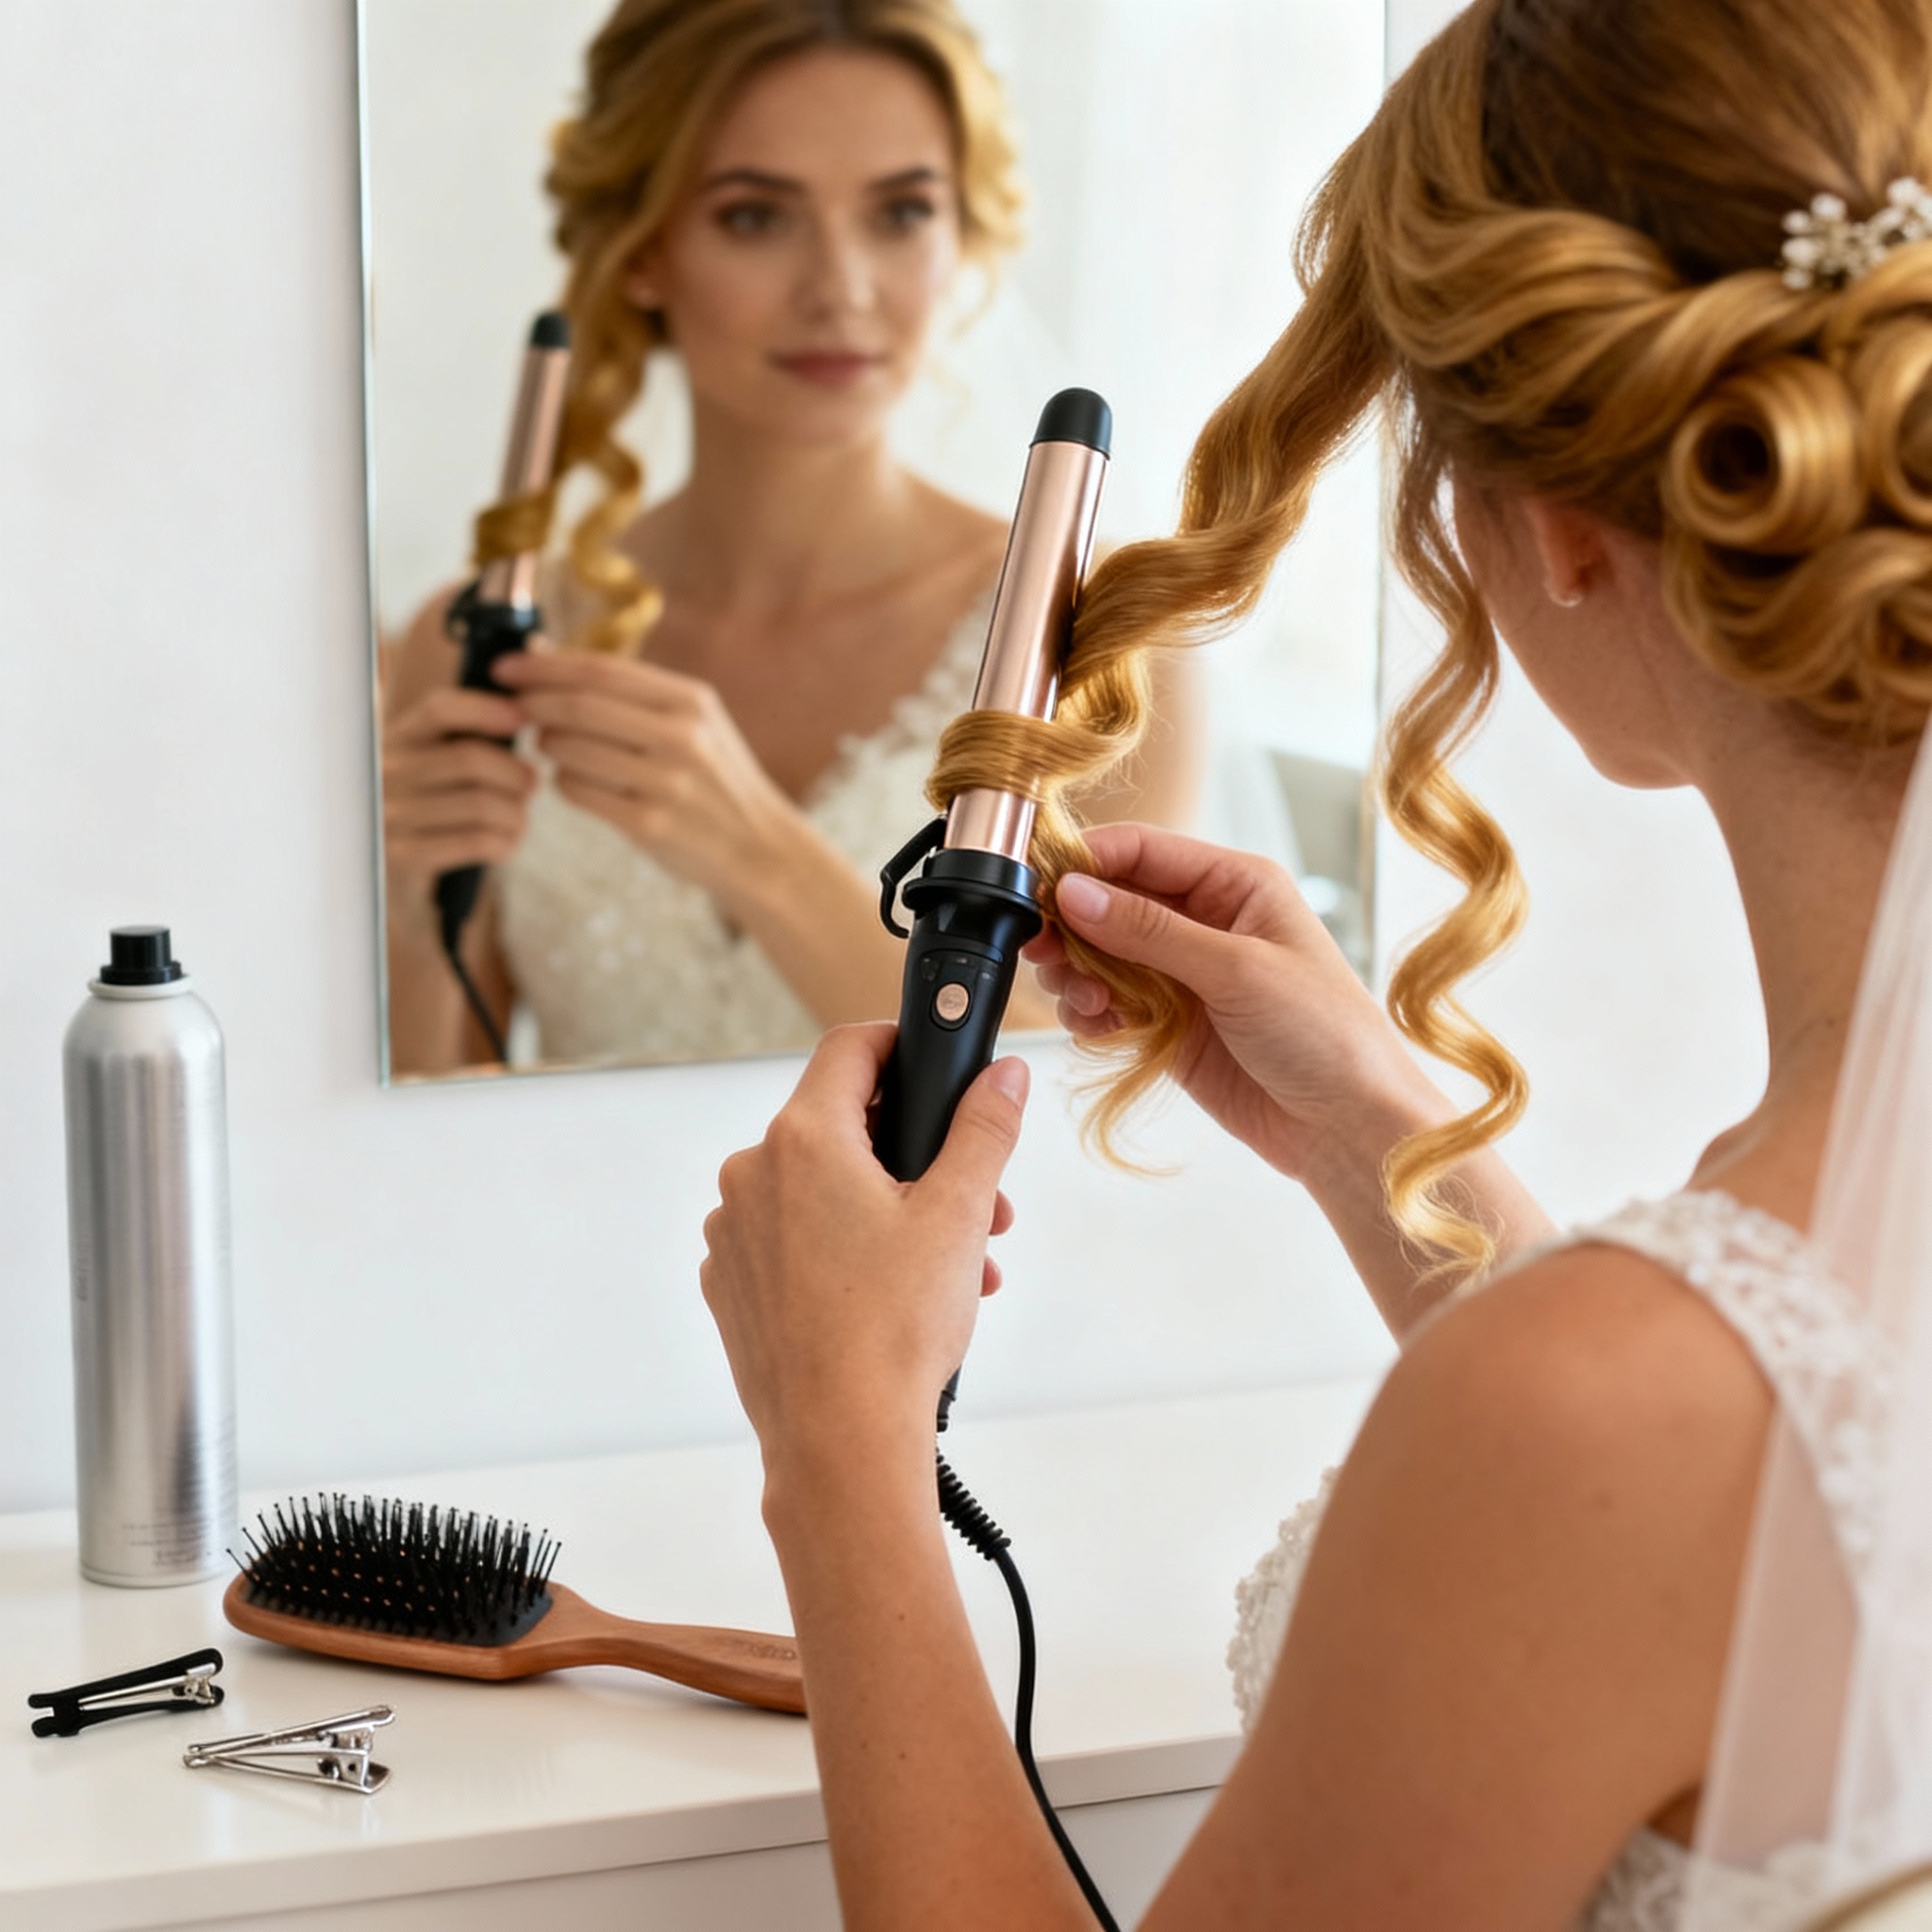
Step-by-step DIY hair curling techniques for wedding styling
Professional-Grade Tools You’ll Need:
| Tool | Purpose | Recommended Size |
|---|---|---|
| Curling Iron | Creates uniform curls and waves | 1″ (classic curls), 1.25″ (loose waves) |
| Styling Wand | Creates varied curl sizes for texture | Tapered (medium 25-13mm) |
| Flat Iron | Creates smooth, sleek curls or waves | 1-1.5″ plates |
| Hair Dryer | Quick-drying and adds volume | Professional-grade with heat settings |
| Round Brush | Adds volume and smoothness | 2-3″ diameter |
Recommended Professional Brands:
- ghd Classic Curl Hair Curling Iron: Professional quality with consistent heat distribution
- Hot Tools Pro Artist 24K Gold Curling Iron: Available in multiple sizes, excellent heat retention
- BaBylissPRO Hair Dryer: Professional-grade with multiple heat settings
- ghd Platinum+ Styler: Versatile flat iron for smooth curls and waves
Hair Preparation Timeline
One Month Before Wedding
- Get a trim or haircut to ensure hair is in optimal condition
- Begin deep conditioning treatments weekly
- Apply hair masks tailored to your hair type
- Use hydrating serums to improve hair health
One Week Before Wedding
- Wash hair 1-2 days before the wedding (clean hair is slippery; day-old hair holds styles better)
- Use lightweight leave-in conditioner only
- Avoid heavy products that weigh hair down
Professional Hair Curling Techniques for Longevity
The difference between curls that last all day and curls that fall flat is technique. Here’s how professionals create long-lasting bridal curls:
1Create Texture: Begin by curling all hair with your chosen styling tool. Texture provides grip and helps styles hold.
2Apply Grip Product: Spray texture spray or light dry shampoo throughout your hair. This creates friction that holds everything in place and makes pinning easier.
3Correct Curling Technique:
- Wrap hair tightly and close around the barrel
- Hold for 8-10 seconds before releasing
- Pin each curl while still warm to lock the shape
- Alternate curl directions (away from face, then toward face) for a natural look
4Cool Completely: Allow curls to cool completely (bobby pins in place) before removing. Heat must dissipate for the curl pattern to set properly.
5Gentle Brushing: Once cooled, brush out curls gently to create waves. Don’t be aggressive or you’ll disrupt the curl pattern.
6Final Set: Apply working/styling spray to lock everything in place, but avoid brushing after spraying or you’ll flatten your waves.
Popular 2026 Bridal Hair Styles (DIY-Friendly)
1. Luxe Romantic Waves
Description: Flowing, polished waves styled in a half-up, half-down look.
How to Create: Curl all hair away from the face using a 1-1.25″ barrel. Gently brush out to waves. Take a small section from each side, twist, and pin at the back crown. Add face-framing tendrils.
2. The Polished Updo
Description: Soft, elegant bun or chignon with delicate face-framing tendrils.
How to Create: Create texture with curls, then gather hair into a low ponytail. Twist around the base to create a bun. Leave 2-3 face-framing pieces and gently pull sections to create a relaxed, romantic effect. Secure with bobby pins and working spray.
3. Soft Half-Up Style
Description: Approachable and romantic—half your hair up, half flowing down.
How to Create: Curl all hair. Take a large section from each temple, twist lightly, and pin at the back crown. Backcomb the crown area for lift. Add a delicate hair accessory for polish.
Complete DIY Bridal Beauty Product Kit

Essential DIY bridal makeup products and tools collection
Investing in quality products is crucial for professional-looking bridal makeup and hair. While you don’t need luxury brands for every product, certain items are worth the investment for their performance and longevity.
Skincare Essentials
| Product Category | Recommended Products | Key Benefits |
|---|---|---|
| Cleanser | La Roche-Posay Toleriane Purifying Foaming Cleanser | Gentle, removes impurities without stripping |
| Moisturizer | Charlotte Tilbury Magic Cream or Bobbi Brown Hydrating Moisturizer | Plumps skin, provides dewy base |
| Eye Cream | Estée Lauder Advanced Eye Serum, Eborian Ginseng Eye Cream | Prevents flakiness, reduces puffiness |
| SPF | La Roche-Posay Anthelios SPF 50 | Broad-spectrum protection without white cast |
Makeup Essentials
| Product | Recommended Brands | Why It Matters |
|---|---|---|
| Primer | Charlotte Tilbury Wander Glow, NARS Radiance Primer | Ensures makeup lasts all day without creasing |
| Foundation | Armani Luminous Silk, Huda Beauty Glow Wish | Full coverage with natural finish; photographs beautifully |
| Concealer | NARS Creamy Radiance, Armani Power Fabric | Covers imperfections and under-eye darkness |
| Setting Powder | Charlotte Tilbury Airbrush Flawless Finish | Eliminates shine, prevents camera flashback |
| Eyeshadow Palette | Tom Ford Eye Quad “Nude Dip” | Curated shades for professional-looking eyes |
| Blush | Laura Mercier Blush | Adds youthful color and dimension |
| Mascara | Sweed Beauty Mascara | Coats each lash individually for dramatic effect |
| Lipstick | Charlotte Tilbury Pillow Talk | Flatters every complexion; perfect bridal shade |
Hair Care Products
- Deep Conditioning Mask: Use weekly for 2-3 months before wedding
- Hair Oil: Lightweight oil for shine and frizz control
- Texture/Working Spray: Creates grip for holding styles (not hairspray alone)
- Heat Protectant Spray: Protects hair from styling tool damage
- Finishing Spray: Lightweight setting spray (not heavy hairspray)
Wedding Day: Final Touches and Touch-Up Strategies

Bride’s final touch-ups and finishing bridal makeup on wedding day
The morning of your wedding requires a calm, organized approach. Having a timeline and touch-up kit prepared ensures you look fresh from ceremony through the final dance.
Wedding Morning Timeline
6-8 Hours Before Ceremony: Start makeup application. This allows time for any mistakes and ensures makeup is completely set before photos.
3-4 Hours Before Ceremony: Complete hair styling and final makeup touches.
1 Hour Before Ceremony: Final touch-ups and outfit adjustment.
Essential Touch-Up Kit
Prepare a small touch-up bag to keep nearby throughout the day. Assign your maid of honor as keeper of the kit so you don’t have to worry about maintaining your look.
- Lipstick and lip liner (in your bridal shade)
- Blush (for freshening cheeks)
- Powder compact for shine control
- Mascara for any needed reapplication
- Blotting papers for oil control
- Setting spray for refreshing makeup
- Hair pins and bobby pins for any hair adjustments
- Texture spray for hair touch-ups
- Breath mints and lip balm
Pro Tip: Use blotting papers throughout the day instead of powder to avoid buildup and cakey appearance. They absorb excess oil without adding product.
Frequently Asked Questions About DIY Bridal Beauty
Absolutely! Many brides successfully do their own wedding makeup by following professional techniques, practicing beforehand, and using quality products. The key is starting your practice sessions 3-4 months in advance. Begin with your base and foundation, then move to more complex techniques like contouring and eyeshadow blending. Most makeup artists recommend watching tutorials from professional makeup artists on YouTube and practicing the look multiple times before the wedding day.
Dermatologists recommend starting your bridal skincare regimen 6-12 months before your wedding. This timeframe allows you to address specific skin concerns, introduce treatments gradually, and achieve lasting results. If your wedding is sooner, start immediately with a consistent basic routine and consider professional facials. Never wait until the week of your wedding to introduce new treatments, as this can cause unexpected reactions or irritation.
Stay calm—a good makeup artist (or skilled DIY artist) can cover blemishes beautifully. Don’t pick or squeeze the pimple, as this causes more redness and inflammation. Instead, apply a spot treatment with salicylic acid the night before and allow the area to dry out. On wedding day, use concealer slightly lighter than your skin tone to brighten the area, then apply your regular concealer over it. Set with powder to lock everything in place. A hydrating cream or balm underneath helps the coverage look natural rather than cakey.
Yes, if you use proper primers, setting powders, and setting spray. A quality primer creates a base that helps makeup adhere for 12+ hours. Setting powder locks everything in place, and a good finishing spray provides additional hold. To maximize longevity: use a primer on your entire face and eyelids, apply foundation in thin layers and set with powder, and finish with a long-wear setting spray. Avoid touching your face throughout the day, and have blotting papers on hand for oil control rather than reapplying powder.
Luxury brands typically offer more refined formulas with better pigmentation, smoother application, and longer wear time. However, many drugstore brands offer excellent quality at a fraction of the price. The key is testing products to find what works for your skin type. Many makeup artists recommend mixing brands—using luxury primers and foundations but drugstore blush and eyeshadow. Invest in products that directly touch your face (foundation, concealer) and save on items like blush and bronzer.
Not necessarily. Wedding hair needs to hold styles longer and withstand more activity than daily styling. Professional-grade products designed for bridal work offer better hold and longevity. Invest in professional texture spray or dry shampoo (not regular hairspray), professional curling tools with consistent heat, and finishing sprays designed for hold rather than shine. These products make a significant difference in whether your curls and style last throughout the entire wedding day.
Absolutely! Even if you’re doing your own makeup, consider booking a professional makeup artist for a trial session. They can teach you professional techniques, demonstrate the best products for your skin type, and help you understand what works for your face shape and complexion. You don’t need to hire them for wedding day—the trial session itself is incredibly valuable for learning. Many makeup artists offer virtual consultations or quick techniques-focused sessions at a lower price than full wedding day services.
Final Thoughts: Embracing Your DIY Bridal Beauty Journey
Mastering DIY bridal beauty is entirely achievable for modern brides. The trend toward natural, authentic beauty combined with professional techniques means you don’t need heavy makeup or elaborate styling—you need the right knowledge, quality products, and practice.
Remember that the most important aspect of your wedding day look is that you feel confident and beautiful. Whether you’re doing your makeup and hair yourself to add a personal touch, save money, or maintain creative control, you’re making an empowered choice about your appearance.
Key Takeaways for Success:
- Start your skincare routine 6-12 months in advance for optimal results
- Practice your makeup and hairstyle at least 3-4 times before the wedding
- Invest in quality primers, foundations, and hair tools
- Focus on enhancing your natural beauty rather than masking it
- Have a touch-up kit prepared and assigned to a trusted person
- Stay hydrated and get plenty of rest the week before your wedding
Your wedding day is about celebrating love and commitment. Looking your absolute best in photos while feeling comfortable and confident is entirely within your reach with proper preparation and the techniques outlined in this guide.